SharePoint Online là một nền tảng website application nội bộ công ty, cho phép cộng tác và quản lý nội dung trong phạm vi doanh nghiệp và hơn thế nữa.
SharePoint Online là một phần của Microsoft 365 là một nền tảng cộng tác và giao tiếp nhóm trên web hỗ trợ làm việc nhóm, tự động hóa quy trình kinh doanh, quản lý thông tin và quản lý file. SharePoint Online cho phép tạo và chỉnh sửa file trực tiếp từ Word, Excel, PowerPoint và OneNote.

Bài Lab này hướng dẫn một số chức năng cơ bản trong Sharepoint Online, Bài lab gồm các phần sau:
Task 1 – Site Management
Task 1.1 Tạo Site
- Đăng nhập vào trang https://admin.microsoft.com/ bằng user têncủabạn@customdomain
- Menu trái chọn Show All và chọn SharePoint
- Màn hình Sharepoint admin center, menu trái chọn Sites\Active Sites
- Cửa sổ Active Sites, chọn +Create

5. Cửa sổ Create a Site, chọn Team Site
6. Cửa sổ Get a team site connected to Office 365 Groups nhập các thông tin sau:
- Site name: Human Resources
- Group owner: têncủabạn@customdomain
- Select a language: English
- Chọn Advanced settings.
- Trong phần Privacy settings: chọn Private – only members can access this site
- Time zone: chọn UTC +7
- Ấn Next, và Finish
- Chờ tạo site xong, truy cập vào site Human Resources vừa tạo xem giao diện

Task 1.2 Xóa Site
- Tại màn hình Sharepoint admin center, menu trái chọn Sites\Active Sites
- Chọn site Human Resources vừa tạo, trên thanh công cụ chọn … và chọn Delete
- Xuất hiện cửa sổ Delete Office 365 group, check vào Delete the group “Human Resources” and all its resources
- Ấn Delete

Task 1.3 Phục Hồi Site Đã Xóa
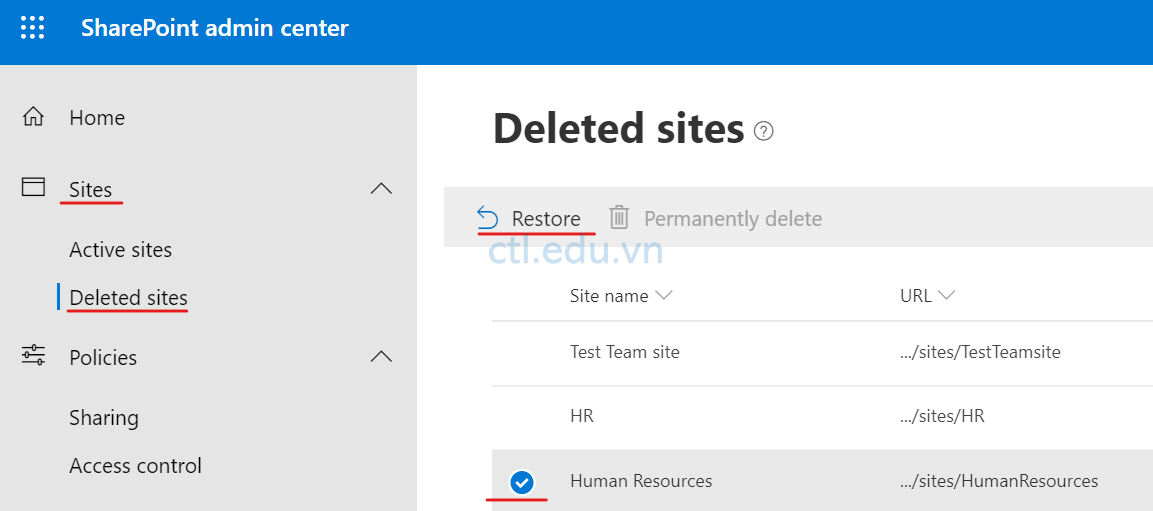
- Tại màn hình Sharepoint admin center, menu trái chọn Sites\Deleted Sites
- Chọn site Human Resources, ấn Restore
- Cửa sổ Restore Office 365 group ấn Restore.
- Trở lại màn hình Sharepoint admin center, menu trái chọn Sites\Active Sites quan sát thấy site Human Resources đã được phục hồi.
Task 2 – Hierarchical Permissions
Task 2.1 Kiểm Tra Quyền
- Tại màn hình Sharepoint admin center, menu trái chọn Sites\Active Sites truy cập vào site Human Resources.
- Tại site Human Resources, click vào icon Settings (bánh răng ở góc trên bên phải) chọn Site Permissions và chọn tiếp Advance permissions settings.

3. Cửa sổ Permissions, trên thanh công cụ chọn Check Permissions.
4. Cửa sổ Human Resources: Check Permissions, trong phần User/Group nhập và chọn têncủabạn@customdomain, ấn Check Now để kiểm tra quyền.
5. Thực hiện lại bước 4 để kiểm tra quyền cho user1@customdomain

Task 2.2 Cấp Quyền
- Tại site Human Resources, click vào icon Settings (bánh răng ở góc trên bên phải) chọn Site Permissions và chọn tiếp Advance permissions settings.
- Cửa sổ Permissions, chọn Human Resources Members, ấn New chọn Add user thêm user1@customdomain, và user2@customdomain vào Group.
- Bên trái chọn Human Resources Visitors, ấn New chọn Add user thêm user3@customdomain, và user4@customdomain vào Group
- Thực hiện lại task 2.1 để kiểm tra lại quyền cho user1@customdomain

Task 3. Configure a Hub Site
Task 3.1 Tạo Thêm Team Site
- Tại màn hình SharePoint admin center, menu trái chọn Sites, và chọn Active sites.
- Cửa sổ Active sites ấn + Create.
- Cửa sổ Create a Site chọn Team Site
- Cửa sổ Get a team site connected to Microsoft 365 Groups nhập các thông tin sau:
- Site name: Aurora
- Site owner: têncủabạn
- Site members: user1 và user2
- Language: English
- Privacy settings: Private
- Site description: This is the site for the new project team -Aurora.
- Ấn Next
- Add additional owners: admin
- Site members: user1 và user2
- Ấn Finish.
5. Sau khi hoàn tất, mở tab khác truy cập https://YourTenant.sharepoint.com/sites/Aurora. (thay yourtenant bằng tên công ty của bạn)

Task 3.2: Tạo Communication Site Dùng PowerShell
- Tại Microsoft Edge truy cập trang https://www.microsoft.com/en-us/download/details.aspx?id=35588 ấn Download
- Thực thi file vừa download để cài SharePoint Online Management Shell module.
3. Vào SharePoint Online Management Shell thực hiện lệnh sau để gán biến giá trị cho biến $orgName (thay yourTenant bằng tên công ty của bạn)
$orgName=”YourTenant”
4. Thực hiện lệnh sau để kết nối đến Sharepoint admin: (đăng nhập bằng têncủabạn@customdomain)
Connect-SPOService -Url https://$orgName-admin.sharepoint.com
5. Thực hiện lệnh sau để xem tên của các site template, lưu ý tên của communication site
Get-SPOWebTemplate

6. Thực hiện lệnh sau để tạo communication site với Owner là têncủabạn@customdomain, và StorageQuota =1T
New-SPOSite -Url https://$orgName.sharepoint.com/sites/ProjectHub -Owner têncủabạn@customdomain -Title “Project Hub” -StorageQuota 1000000 -Template SITEPAGEPUBLISHING#0
7. Sau khi thực hiện xong, vào trình duyệt truy cập trang https://têncôngty.sharepoint.com/sites/ProjectHub bằng user têncủabạn@customdomain
Task 3.3: Register the site as a hub site
- Trở lại màn hình SharePoint admin center, menu trái chọn Sites, chọn Active sites. và check chọn Project Hub site (https://YourTenant.sharepoint.com/sites/ProjectHub).
- Trên thanh công cụ chọn Hub, và chọn Register as hub site từ dropdown menu.
- Cửa sổ Register as hub site nhập các thông tin sau:
- Hub name: Project Hub
- People who can associate sites with this hub: têncủabạn@customdomain.
- ấn Save

Task 3.4: Design the hub site
- Tại trình duyệt mở tab khác, truy cập trang https://têncôngty.sharepoint.com/sites/ProjectHub bằng user têncủabạn@customdomain
- Quan sát thấy có thanh hub navigation ở đầu trang, Ấn Add link và nhập các thông tin sau:
- Choose an option: chon Link
- Address: https://têncôngty.sharepoint.com/sites/Aurora
- Display name: Aurora
- Ấn Save, Ok
3. Quan sát thấy có Aurora trên thanh hub navigation

Task 3.5: Associates a Site with The Hub Site
- trở lại màn hình SharePoint admin center, menu trái chọn Sites, chọn Active sites. và check chọn Aurora team site (https://YourTenant.sharepoint.com/sites/Aurora).
- Trên thanh công cụ chọn Hub, và chọn Associate with a hub từ dropdown menu.
- Cửa sổ Edit hub association, chọn Project Hub từ dropdown menu ấn Save.
- Tại trình duyệt mở tab khác, truy cập site Aurora team site (https://YourTenant.sharepoint.com/sites/Aurora), quan sát thấy thanh hub navigation ở đầu trang.

Hoàn tất bài Lab
Mr-CTL