Azure Information Protection hiện nay là Microsoft Purview Information Protection. Là một giải pháp giúp doanh nghiệp phát hiện, phân loại và bảo vệ thông tin nhạy cảm bất kể thông tin đó được lưu trữ hay di chuyển ở đâu. Cung cấp các công cụ để bảo vệ dữ liệu và ngăn ngừa mất dữ liệu.
Microsoft Purview Information Protection phát hiện và xác định dữ liệu nhạy cảm, Bảo vệ dữ liệu bằng cách mã hóa, hạn chế truy cập và đánh dấu dữ liệu Ngăn ngừa mất dữ liệu bằng cách ngăn ngừa việc vô tình chia sẻ thông tin nhạy cảm

Exercise 1 – Triển Khai Sensitivity labels với Microsoft Purview Information Protection client
Task 1 – Cài Microsoft Purview Information Protection client
- Tại máy windows 11, vào trình duyệt truy cập trang: https://www.microsoft.com/en-us/download/details.aspx?id=53018
- Màn hình Microsoft Purview Information Protection client, chọn Download.
- Màn hình Choose the download you want, Chọn file PurviewInfoProtection.exe, ấn Download.
- Thực thi file PurviewInfoProtection.exe để cài Microsoft Purview Information Protection client, trên máy windows 11
Task 2 – Tạo Sensitivity Label
- Tại máy windows 10, truy cập trang https://Admin.microsoft.com/ bằng user têncủabạn@customdomain
- Màn hình Microsoft 365 admin center, menu trái chọn Compliance
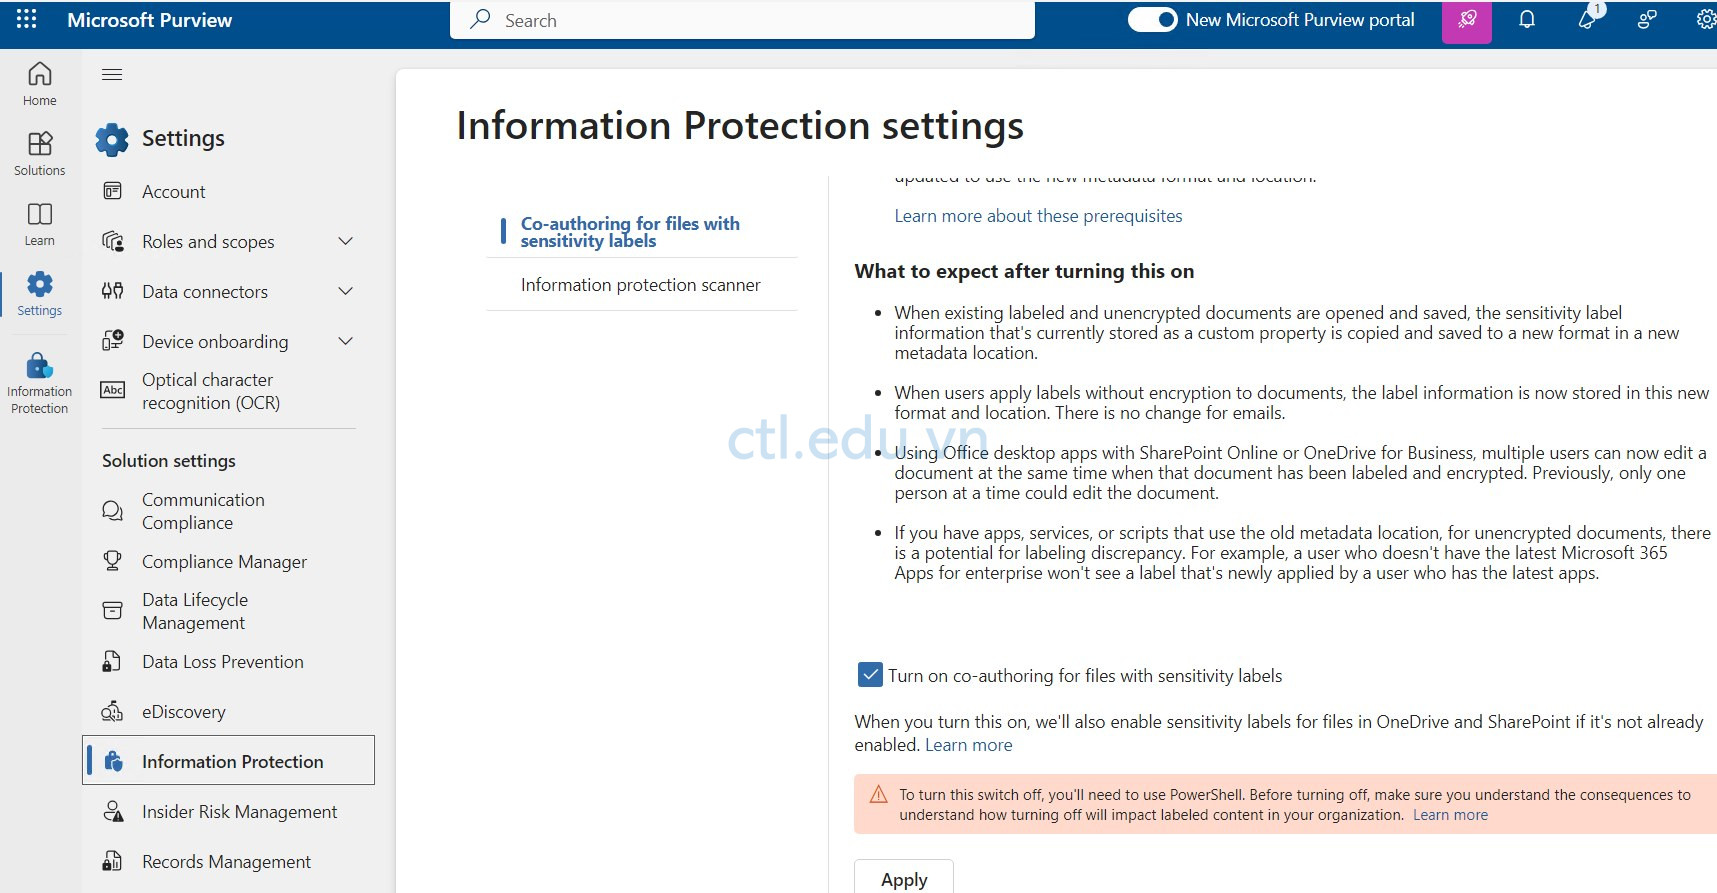
- Màn hình Microsoft Purview menu trái chọn Settings và chọn Information protection
- Màn hình Co-authoring for files with sensitivity labels, check chọn Turn on Co-authoring for files with sensitivity labels và ấn Apply
- Tại màn hình Microsoft Purview, menu trái chọn Solutions\Information protection, và chọn Sensitivity labels, và ấn Create Label.
- Cửa sổ New sensitivity label nhập các thông tin sau:
- Name: PII
- Display name: PII
- Description for users: Documents, files, and emails with PII
- Description for admins: Documents, files, and emails with PII
- Label color: chọn màu cho label
- Ấn Next
6. Cửa sổ Define the scope for this label, check chọn Items (mặc định với tất cả các checkbox) và ấn Next.
7. Cửa sổ Choose protection settings for the types of items you selected, check chọn cả 2 checkboxes Control Access và Apply Content Marking, và ấn Next.
8. Cửa sổ Access control, chọn option Remove encryption if the file is encrypted và ấn Next.
9. Cửa sổ Content Marking, trong phần Content Marking chọn On, và thiết lập các thông số sau:
- Check chọn Add a watermark và ấn Customize text, Cửa sổ Customize watermark text nhập các thông tin sau:
- Watermark text: Sensitive – Do Not Share
- Font size: 25
- Font color: Blue
- Text layout: Diagonal
- Ấn Save

-
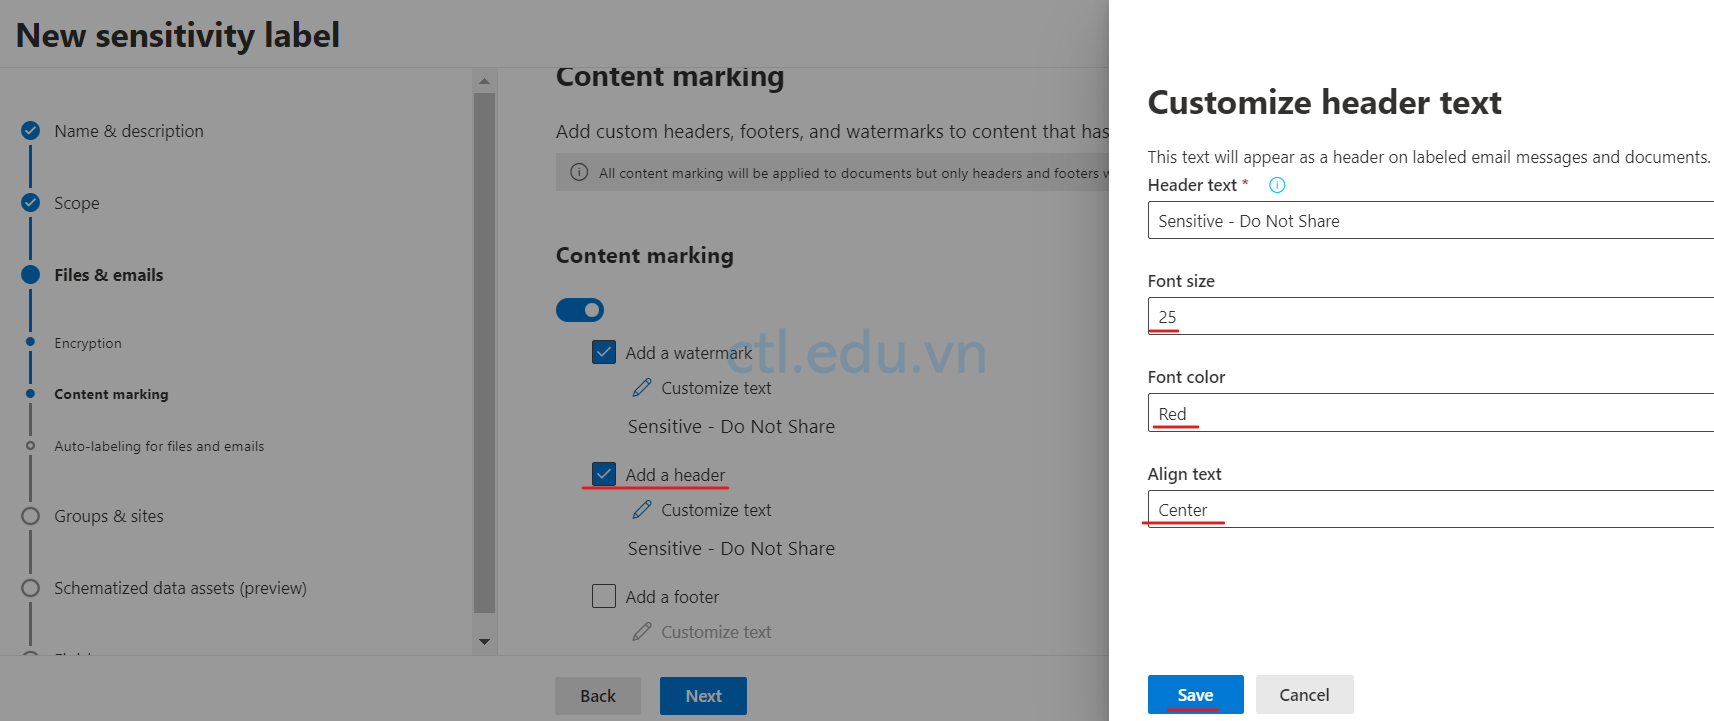
- Check chọn Add a header và ấn Customize text, Cửa sổ Customize header text nhập các thông tin sau:
- Header text: Sensitive – Do Not Share
- font size: 25
- Font color: Red
- Align text: Center
- Ấn Save
- Check chọn Add a header và ấn Customize text, Cửa sổ Customize header text nhập các thông tin sau:
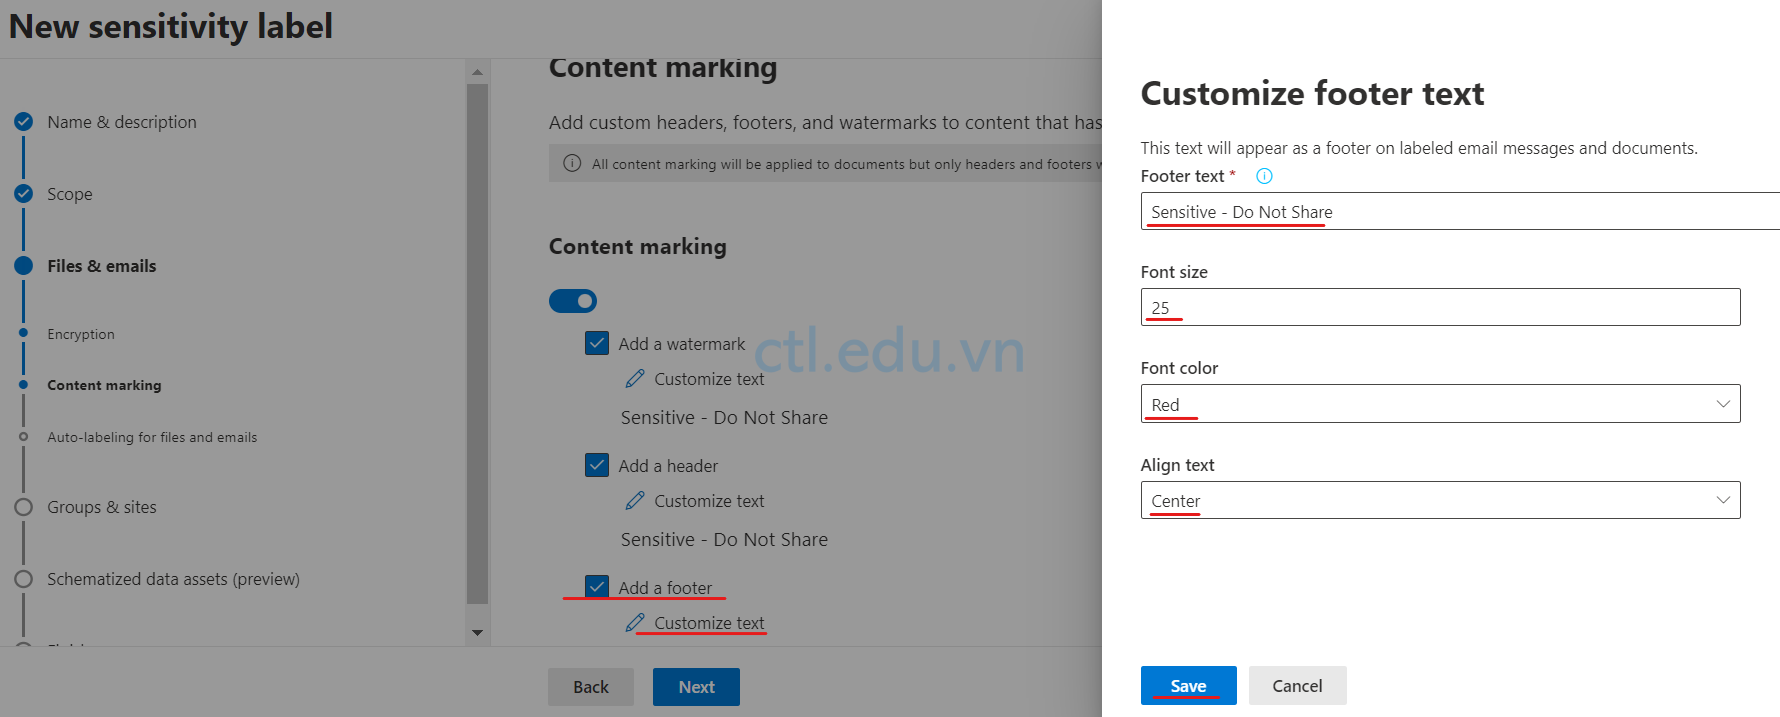
- Check chọn Add a footer và ấn Customize text, Cửa sổ Customize footer text nhập các thông tin sau:
- Footer text: Sensitive – Do Not Share
- font size: 25
- Font color: Red
- Align text: Center
- Ấn Save
- Ấn Next
10. Cửa sổ On the Auto-labeling for files and emails, trong phần Auto-labeling for files and emails chọn On, và thiết lập các thông số sau:
- Trong phần Detect content that matches these conditions, ấn +Add condition và chọn Content contains.
- Trong phần Content contains, ấn Add và chọn Sensitive info types.
- Cửa sổ Sensitive info types, check vào checkbox bên trái của cột Name để chọn tất cả các loại thông tin, ấn Add.
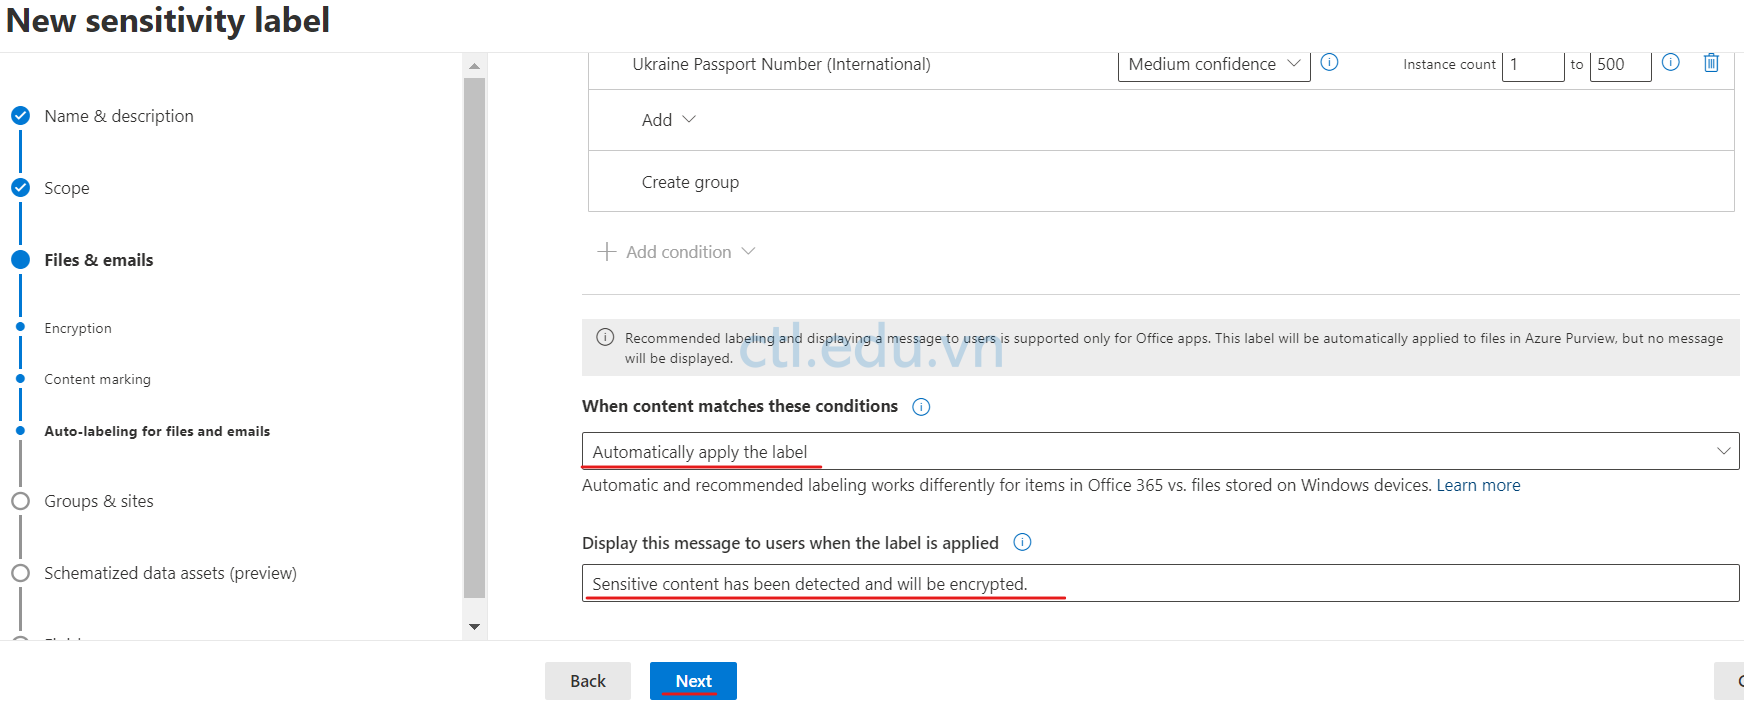
- Trở lại Cửa sổ On the Auto-labeling for files and emails, kéo thanh trượt xuống phía dưới:
- Trong phấn When Content Matches these conditions: chọn Automatically apply the Label
- Display this message to users when the label is applied: nhập vào Sensitive content has been detected and will be encrypted.
- Ấn Next
11. Cửa sổ On the Define protection settings for groups and sites, ấn Next.
12. Cửa sổ Auto-labeling for schematized data assets (preview), trong phần Auto-labeling for schematized data assets (preview) chọn Off ấn Next.
13. Ấn Create label
Hộp thoại Error sẽ xuất hiện cho biết khối quy tắc được tạo cho Label bạn đang cố gắng tạo quá dài. Kích thước tối đa của các lựa chọn loại thông tin nhạy cảm mà bạn có thể thực hiện cùng một lúc cho mỗi quy tắc là 49152. Bằng cách chọn tất cả các loại thông tin nhạy cảm như bạn đã làm ở bước 10, bạn đã vượt quá giới hạn này. Tôi đã cố tình để bạn chọn tất cả các loại thông tin nhạy cảm để bạn nhận được lỗi này. Ấn Ok
14. Tại cửa sổ Review your settings and finish, kết thanh trượt đến phần Auto-labeling for files and emails và ấn Edit.
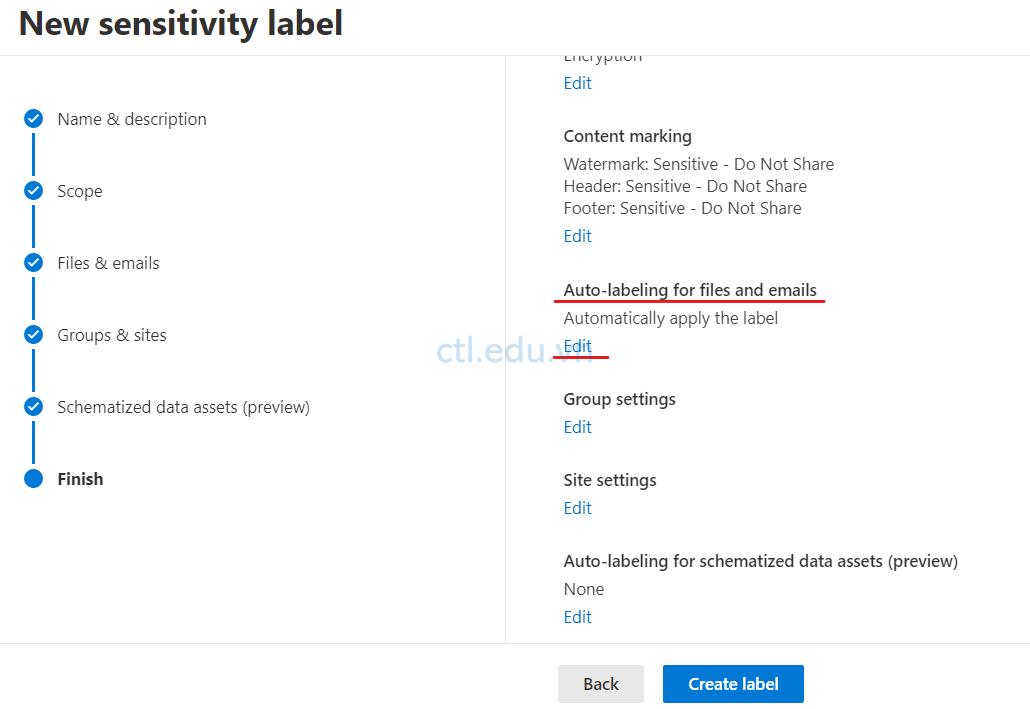
15. Trở lại cửa sổ choose protection settings for files and emails ấn Next
16. Cửa sổ Encryption, ấn Next
17. Cửa sồ Content Marking, ấn next
18. Tại cửa sổ Auto-labeling for files and emails, trong phần Content contains chọn icon thùng rác để xóa tất cả Content contains mà bạn đã chọn.
(Trong các bước còn lại, bạn sẽ thêm một điều kiện mới chỉ chứa hai loại thông tin độ nhạy chứ không phải tất cả các loại thông tin độ nhạy như bạn đã làm ban đầu.)
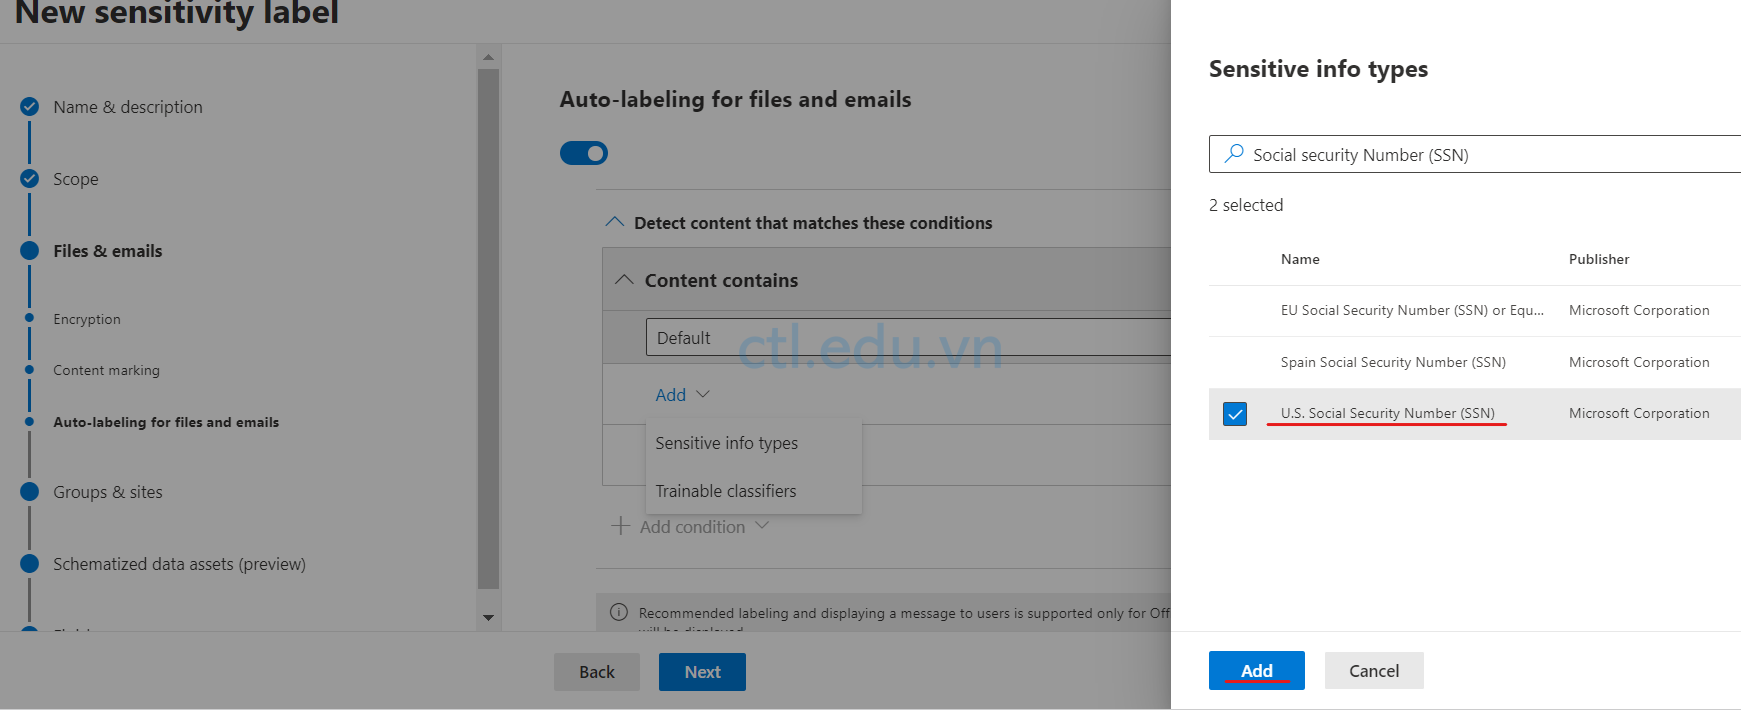
19. Cửa sổ Auto-labeling for files and emails, trong phần Detect content that matches these conditions ấn +Add condition và chọn Content contains.

20. Trong phần Content contains, chọn Add và chọn Sensitive info types.
21. Cửa sổ Sensitive info types tìm và check chọn ABA routing number và U.S. Social security Number (SSN) ấn Add, và ấn Next.
22. Cửa sổ Define protection settings for groups and sites, ấn Next.
23. Cửa sổ Auto-labeling for schematized data assets (preview) ấn Next, ấn Create label, ấn Done.
24. Trở về màn hình Information protection, check chọn PII vừa tạo chọn Publish label
25. Cửa sổ Choose sensitivity labels to publish, ấn Next, cửa sổ Assign admin units ấn Next.
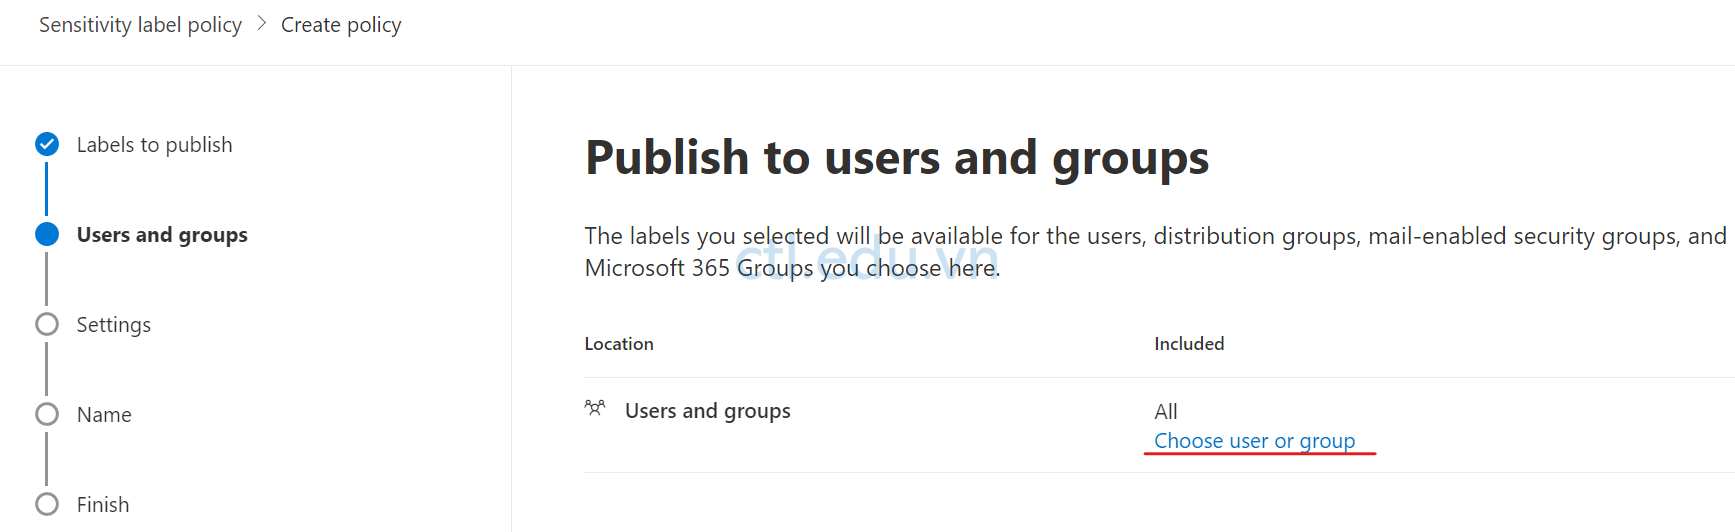
26. Cửa sổ Publish to users and groups, chọn Choose user or group, check chọn user5, user6 và têncủabạn@customdomain, ấn Done, ấn Next
27. Cửa sồ Policy settings, check chọn Users must proide a justification to remove a label or lower its classification và ấn Next.
28. Cửa sổ Apply a default label to documents, chọn PII từ drop-down và ấn Next.
29. Cửa sổ Apply a default label to emails, chọn PII từ drop-down và ấn Next.
30. Cửa sổ Apply a default label to Power BI content (preview), chọn PII từ drop-down và ấn Next.
31. Cửa sổ Name your policy, Trong phần Name nhập PII Policy, trong phần Enter a description for this sensitivity label policy: nhập vào Mục đích của chính sách này là phát hiện thông tin nhạy cảm như số ABA bank routing numbers và số an sinh xã hội của Hoa Kỳ trong email và tài liệu, đồng thời mã hóa thông tin này khi được phát hiện. Người dùng phải cung cấp giải thích cho việc loại bỏ nhãn phân loại, ấn Next, và Submit, ấn Done
(Bạn phải đợi 15 phút để label policy áp đặt, Bạn hãy làm tiếp Lab 6 – Exercise 2 trước, 15 phút sau thực tiện tiếp task 3 – Exercise 1)
Task 3 – Assign your Sensitivity Label to a document
- Tại máy windows 11 vào Microsoft Word, ở gốc trên bên phải màn hình word chọn sign in, đăng nhập bằng user5@customdomain.
- Tạo tài liệu word mới, nhập thông tin túy ý. do máy windows 11 đã cài Microsoft Purview Information Protection client (ở task 1) nên tab home vào phần Sensitivity chọn help and feedback, chọn reset settings, ấn Continue, ấn Close, đóng và mở word lại
- Vào Sensitivity bây giờ bạn đã thấy PII đã được chọn.(tài liệu đã được dán nhãn
- Vào Menu File chọn Save, tiến hành lưu tài liệu vào Onedrive với file name tùy ý.
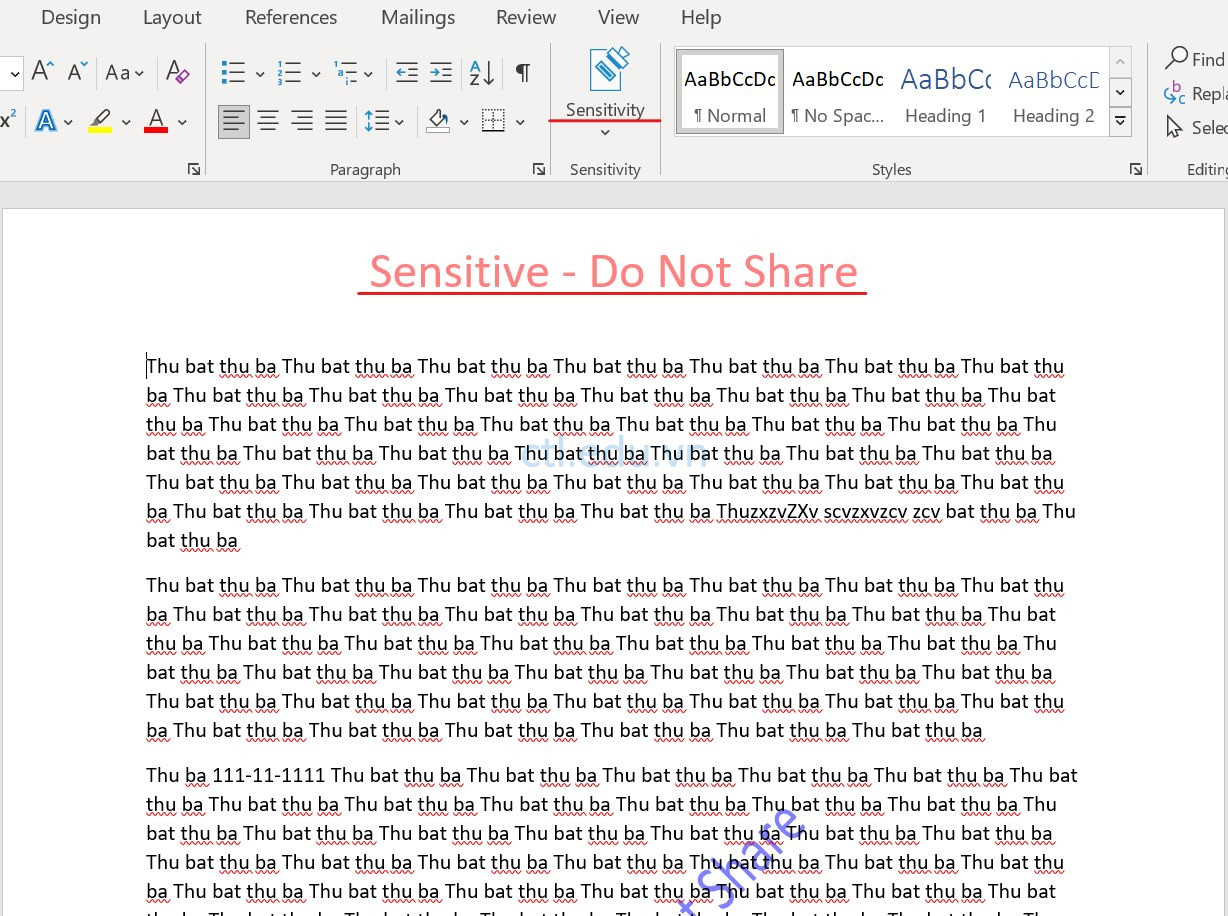
- Trở lại nội dung file word thấy đã có header, watermark, và Footer trên tài liệu.
6. Cũng tại Word đang sign-in bằng User5, mở tài liệu mới, vào Sensitivity, chọn PII (để bỏ Chọn PII), xuất hiện cửa sổ Justification Required chọn option Other (explain), và nhập vào Kiểm tra dữ liệu nhạy cảm khi không có nhãn PII.
7. Nhập nội dung tùy ý vào word trong đó có nội dung 111-11-1111 (Giống U.S. Social Security Number)
8. Vào Menu File chọn Save, tiến hành lưu tài liệu vào Onedrive với file name Ma-so-an-sinh.docx.
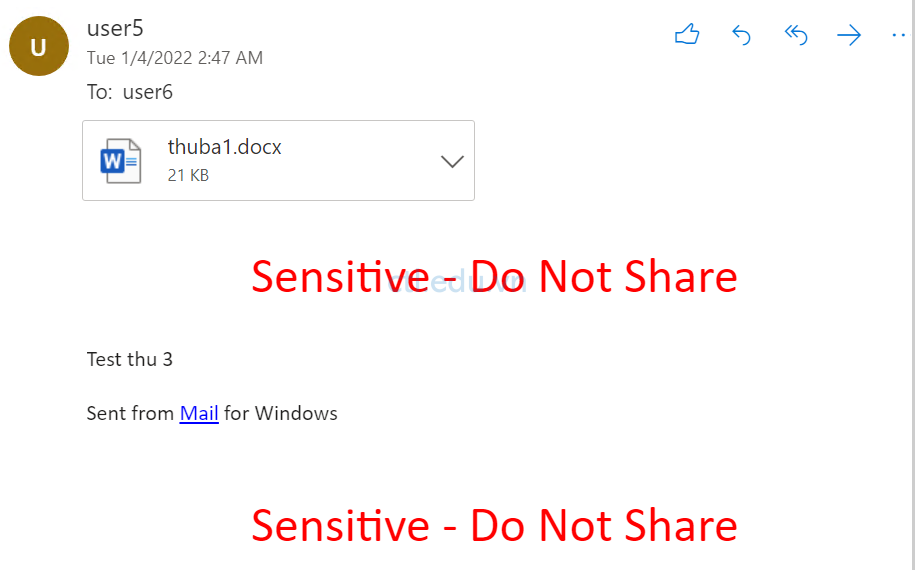
9. User5 gửi email kèm file Ma-so-an-sinh.docx cho user6,
10. User6 nhận mail do User5 gửi sẽ thấy dòng Sensitive – Do Not Share.
Exercise 2 – Triển Khai Windows Information Protection
Task 1 – Cấu Hình Windows Information Protection
- Tại trình duyệt truy cập trang https://endpoint.microsoft.com bằng user têncủabạn@customdomain
- Tại màn hình Microsoft Endpoint Manager Admin Center, menu trái chọn Apps và chọn App protection policies, ấn mũi tên của + Create policy chọn Windows Information Protection
- Cửa sổ Create policy, tại tab Basics nhập các thông tin sau:
- Name: WIP Client Protection
- Description: để trống
- Enrollment state: With enrollment
- Ấn next
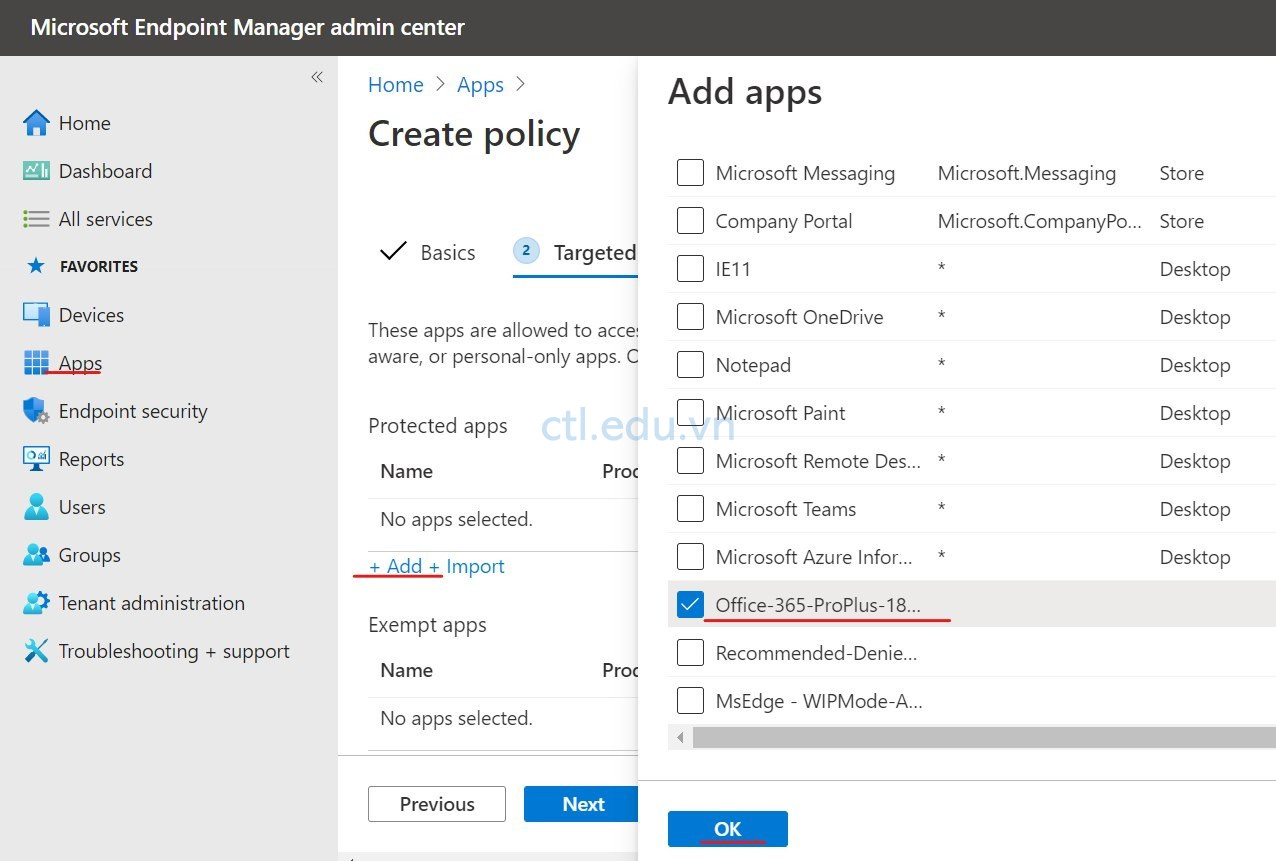
4. Tại tab Targeted apps nhập các thông tin sau:
- Protected apps: ấn + Add, xuất hiện cửa sổ Add apps tìm và check vào Office-365-ProPlus-1810-Allowed.xml, ấn OK.
- Ấn Next
5. Tại tab Required settings nhập các thông tin sau:
- Windows Information Protection mode: Block
- Corporate identity: nhập vào customdomain của bạn ấn OK.
- Ấn Next.
6. Tại tab Advanced settings, không thay đổi thông tin nào, ấn Next
7. Tại tab Assignments, nhập các thông tin sau:
- Selected groups: trong phần include groups ấn +Add Group chọn group WIP Users ấn Select.
- Ấn Next
8. Tại tab Review + create, ấn Create.
9. trở lại màn hình Apps | App protection policies, quan sát cột Deployed đang có giá trị là No, ấn Refesh cho đến khi Deployed có giá trị là Yes.
Task 2 – Use Windows Information Protection
- Tại máy Windows 10 chưa join vào Azure AD , vào Start chọn the Settings App.
- Tại Settings app, chọn Accounts.
- Chọn tiếp Access work or school và ấn Connect.
- Cửa sổ Microsoft account chọn Join this device to Azure Active Directory.
- Cửa sổ Let’s get you signed in nhập vào user5@customdomain ấn Next.
- Cửa sổ Enter password nhập password của user5, ấn Sign in.
- Chờ vài giây xuất hiện cửa sổ Make sure this is your organization ấn Join.
- Cửa sổ You’re all set! ấn Done.
- Trở lại cửa sổ Settings app, trong phần Access work or school kiểm tra thấy đã join vào Azure AD, đóng Settings app.
- Mở trình duyệt truy cập vào trang https://portal.office.com bằng user user5@customdomain.
- Màn hình Office 365, gốc trên bên phải chọn Install Office, tiến hành cài Office. (nếu chưa cài)
- Sau khi cài xong, vào Word tiến hành active bằng user5@customdomain, sau đó ấn Blank document để mở tài liệu mới. và nhập nội dung tùy ý.
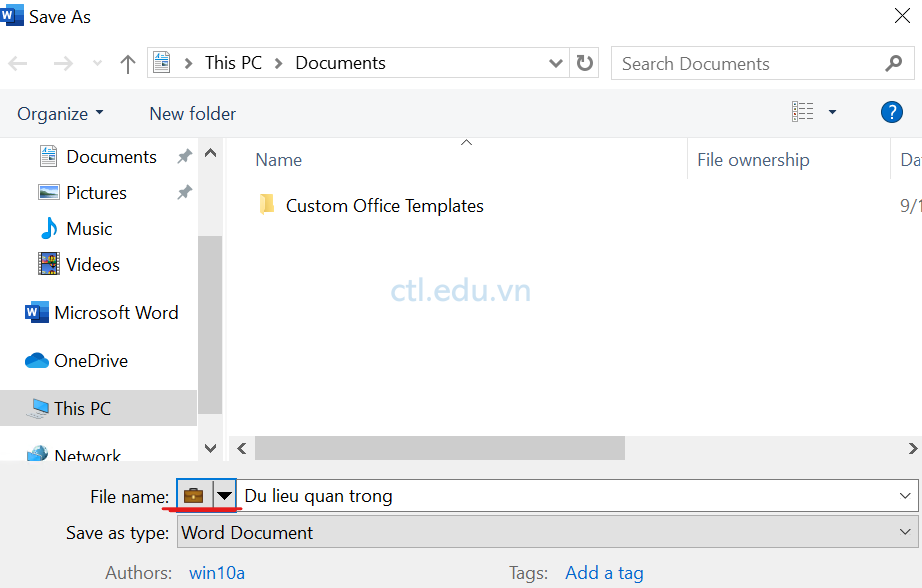
- Vào menu File chọn Save As và ấn Browse, tại File Explorer, bạn sẽ thấy icon hình ổ khóa bên trái dòng file name, click vào mũi tên của ổ khóa chọn Work (tên domain của bạn), đặt tên file và lưu vào Documents ấn Save.
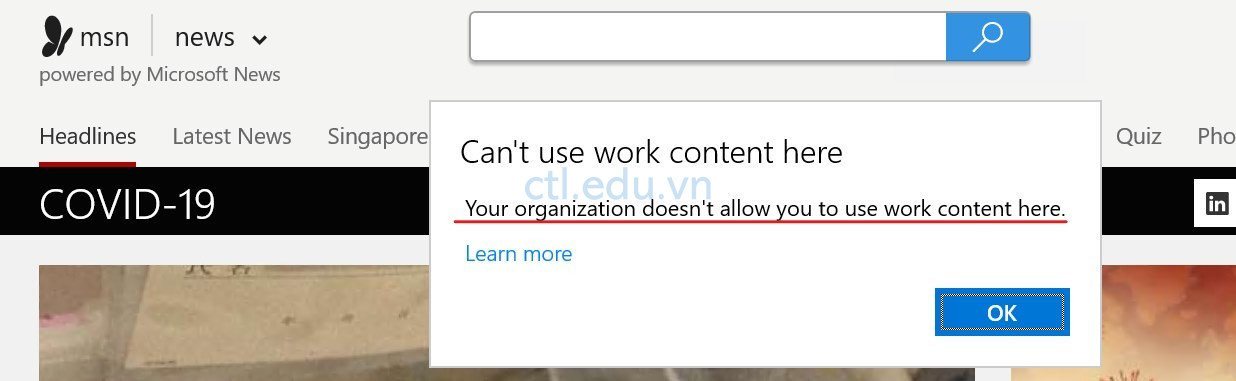
14. Trở lại màn hình Word copy nội dung, mở trình duyệt Microsoft Edge, tại cửa sổ search paste nội dung vào, bạn sẽ nhận được thông báo “Your organization doesn’t allow you to use work content here” (WIP ngăn chặn không cho copy nội dung của công ty sang app khác ngoài Office)
15. Bạn có thể paste nội dung vào notepad, và cũng sẽ nhận thông báo tương tự.
Hoàn tất bài lab